Showing posts with label felt. Show all posts

Sunday, 20 April 2014

Cute Cookie Tutorial

cute cookie
At the end of the month I have a stall at a food and drink festival where I am selling my food themed goodies.

The 'little grey cells' have been whirring away and the cute cookie is one idea I've come up with and so I thought I'd share it with you as a non fattening Easter treat! 

You could use it as a keyring or brooch.

You will need

2 circles of tan felt - whatever size you want your cookie to be, mine are 5cm across
2 small black brads or buttons
11cm of ribbon
small piece of chocolate felt
a split keyring
sewing thread


To Make

Find the centre of one of the circles, and just a little way up make two small holes close to each other for the brads. I use the points of my little scissors, but the official way is to get a pin or needle and then wriggle it in the hole, to make it bigger!
Push the brads through to make the eyes or
Sew on two small black buttons to make the eyes.
Sew a big smiley mouth with a little stitch at the bottom and at each end.
face details
Cut small circles from the chocolate felt - I did this freehand.
cutting chocolate chips
Sew them randomly on as chocolate chips and I used one to make a nose. At the same time, hold the folded ribbon behind the face, to help catch it in place as the loop for your key ring.
As you sew the chocolate chips on catch the ribbon in place
Put the two circles together with the ribbon loop sandwiched in the middle and sew around the outside edge. It can be blanket stitch or even a simple running stitch.
For an idea of a simple decorative running stitch and how to turn it into a brooch see here.
Blanket stitch around the outside

Happy Easter everyone!
I'm joining in with Handmade Monday this week, so welcome if you're a visitor from there.

Sunday, 23 February 2014

Little boxes, little boxes

... made of felt and fabric.
I have been making felt bags for a long time now, but I also wanted to make felt boxes. Pickle-Lily is the hand bag queen, but she also has lots of boxes. Her schema is definitely putting things in bags and boxes! So I set to work!
Already full!
My first one, was quite big, based on a 30cm square. I used iron on interfacing to stiffen the fabric, which made turning it out tricky, as it was so stiff. So I downsized my starting squares and am now very, very happy with the finished product.
pencil tub
In fact I got rather carried away with making them. as you can see! P has now asked me to make four with the letters l, o ,v and e on, and she has got a birthday coming up!
reversible felt and fabric boxes
There are lots of tutorials for these out in blogland, but if you would like it, I can do one on here. I'm joining in Handmade Monday this week, and hopefully there'll be no IT issues!!!!

Sunday, 17 November 2013

Easy-Peasy Reindeer

This is my 200th Post - and by sheer coincidence I am taking part in Bugs and Fishes Blog link-up as part of it. Such fun! The link-up is all about Christmas and I am sharing my easy-peasy reindeer tutorial. Last year I created an easy-peasy robin for Pickle-Lily ( my crafty daughter ) and this year she asked for a reindeer to make and here he is.
Easy-Peasy Reindeer
You will need -

Two circles of medium brown felt - now these can be any size depending on how big you would like your reindeer to be.
A smaller circle of red glitter felt, or just red felt or even a red button for the nose.
Two black brads for eyes or appropriate sized buttons.
A length of ribbon to hang him from.
Some darker brown felt for the antlers.
A template for his antler - this I made by using the Kristen font in Word, enlarging it to the size I wanted, cutting it out and rounding it off to get what looks like this...


Or you could draw your own shape. The beauty is no two antlers look alike so you can make them as simple or as intricate as you like. Cut out two antlers from dark brown felt.


Place the nose where you like on one brown circle to be his face and stitch it on with running stitch.
At the same time - trap the folded piece of ribbon on the back of this circle.
Then ..
Place the two antlers in position and hold them in place with the eyes...
Now, put the other brown circle over the back and sew in place.
I use a cross between a running stitch and back stitch, this gives the effect of a simple running stitch on the front but is as strong as back stitch. To do this, sew as if it was back stitch making the top stitches shorter, so they don't touch each other and the under stitches longer.
The top stitching looks like this ..

The underside will look like this

You can add a little stuffing if you want to make him a little plumper.
If you prefer you could make him into a badge - leaving out the ribbon.
A tip for this is to add an extra little piece of felt onto the back of the back circle to strengthen your badge and to use double thread to sew it on. Sew the front and back together as before.


I'm looking forward to seeing what everyone else is making and sharing their tutorials for! A big than-you to Laura for organising this.


Sunday, 6 October 2013

All bunting out

This week-end I have been helping In a Pickle-Lily make bunting. Some of the bake sale bunting was used in a local shop window as part of the local food and drink festival, and it has generated orders for more! In fact the shop has asked for a selection of bunting to have as stock, so I have been helping her make bunting. This week-end we have made nine lengths of bunting, which is 22.5m or 99 flags.

lots of lovely bunting
I did distracted this week-end however, by turning my fox, squirrel and hedgehog into Christmas decorations! It wasn't part of the plan for this week-end, but my fingers sort of cut and stitched them by themselves and I am very pleased with them. In fact when I have finished this post I am going to put them on folksy, the first items in my Christmas shop for this year!

Sunday, 12 May 2013

And another new idea

This week I was asked to create a name plaque out of felt for a little girl. Specific colours were required - rose pink and purple. The creative juices started flowing, and this is my finished make.
personalised name plaque
Not a brilliant photo, but it has been very overcast here today, but hopefully you can get an idea. All the letters are hand stitched on, which took me a fair while.
blanket stitched letters
I'm so pleased with it that I think I may add these to my repertoire. So I'm now working on a boy's version with a glittery star as the motif. My only problem is (the eternal one ) how much do I charge?
work in progress
 I'm planning to join in with Handmade Monday this week, and catch up with everyone over the week. Why don't you join in too?

Monday, 29 April 2013

Monday Mini Make

I love those pretty tape measures you see in John Lewis and Cath Kidston, but when I looked on Saturday they were £8 - yes £8!!! So I decided to make one for myself, well actually I made two.
mini tape measures
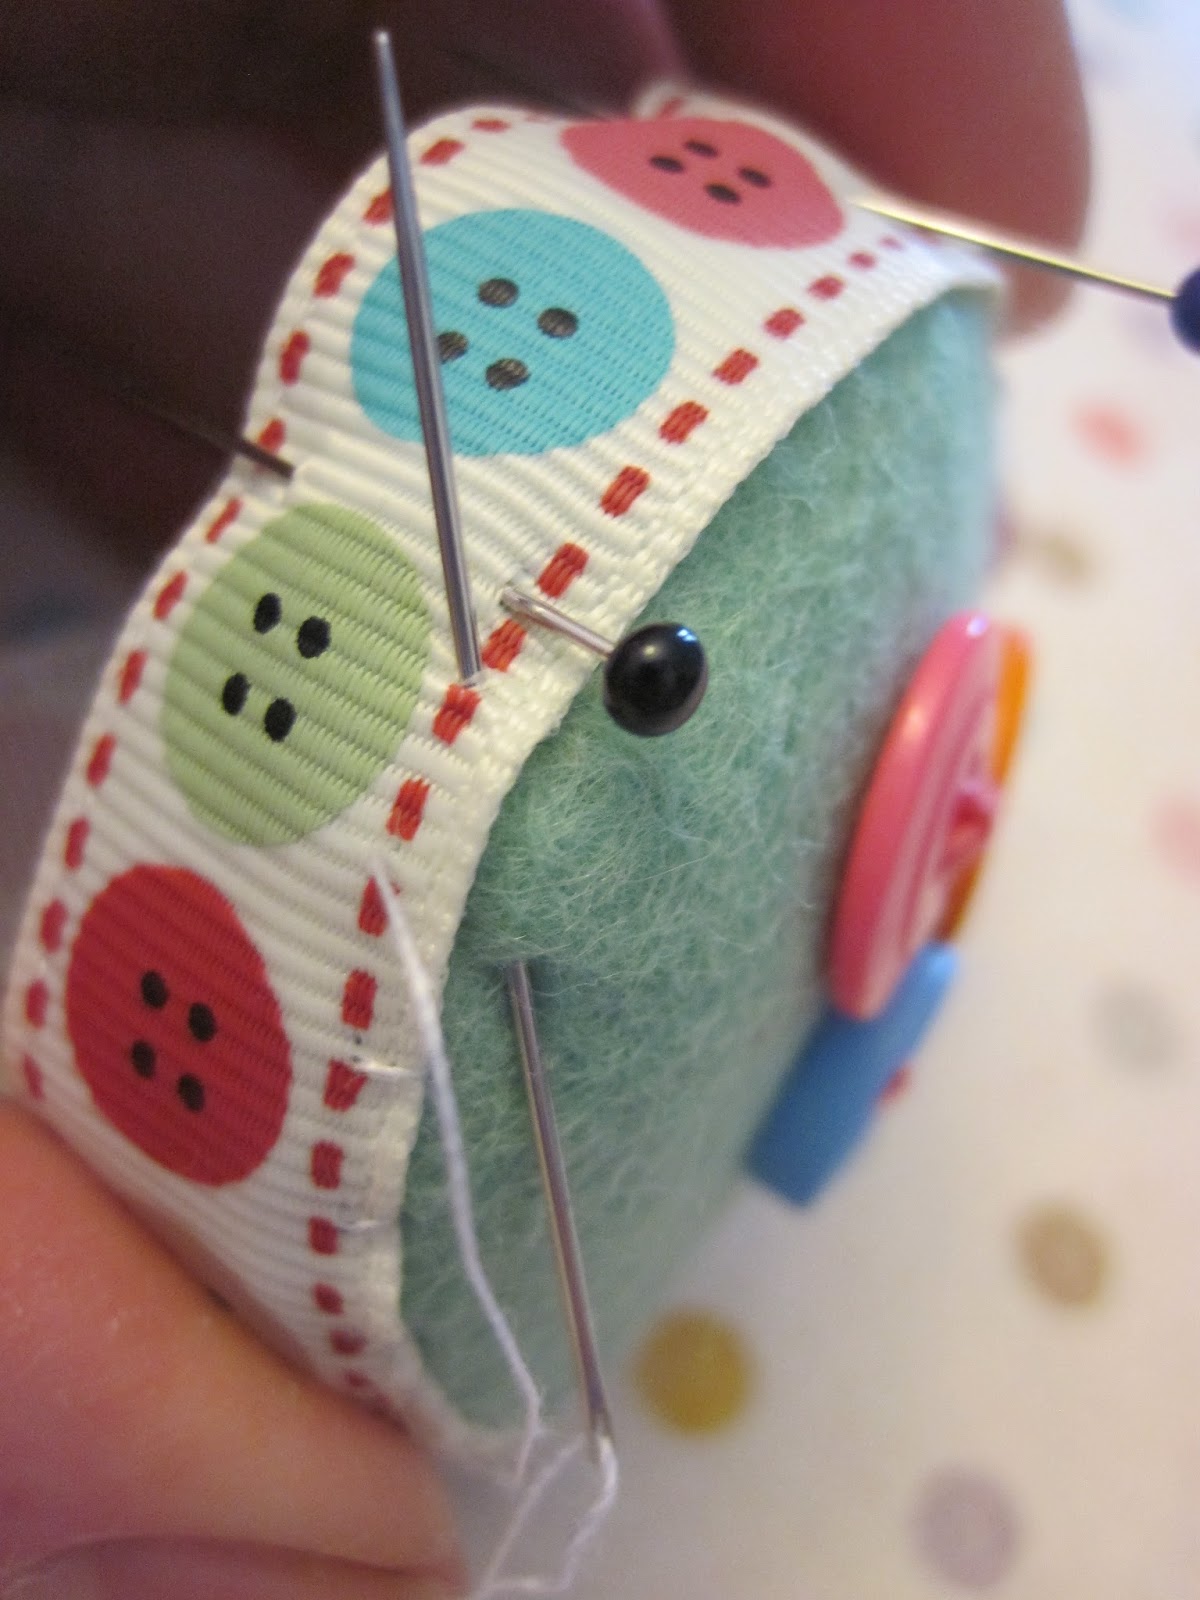
I bought, from my local friendly haberdashery shop, a little tape measure for £1.20. I cut out two circles of felt (mine were 7cm wide), I decorated them with pretty buttons and then I roughly stitched them together. I did this by sewing a running stitch around the edge of the circles and pulling it up round the edge.I did that for the second circle and then sewed them together. The coral measure was made first, but I decided I wanted it a little plumper, so the blue one had a little wadding between the tape measure and the felt, to pad it out a little.

I left a small slit for the tape to go through

sewn together


notice how my felt and buttons co-ordinate with the ribbon!
Then I carefully stitched some button ribbon around the outside to hide the join. I started and finished at the small gap I'd left for the end of the tape measure.


Finally, a small piece of ribbon with a button detail to add to the end of the measure.
I love them, and I can see these appearing in Christmas stockings this year - now how's that for organised!!!

Sunday, 3 March 2013

Mystery Knit Along

A couple of years ago I took part in a mystery knitalong on Ravelry to knit a mystery toy. Well, to be accurate I started it, I didn't really get along with knitting in the round with aran yarn, so I gave up when it got too difficult.
Then I saw in my side bar that Fuzzy Mittens was running one this year. I love Fuzzy Mitten patterns. I knit her bunnies. So cute in their little hoodies.


rabbits

with hoodies

I've also knitted a little teddy bear from one of her patterns - more are due to arrive soon!
teddy
So I have paid a very reasonable fee for the pattern - £1.70 and I eagerly sat and knitted the first part on Friday evening, whilst I waited for Pickle-Lily's leotard to finish in the washing machine, so I could hang it up to dry ready for Saturday morning. A new part of the pattern will be published every Friday for six weeks in total, and I'm really looking forward to knitting it.
Part 1 - part of a garment!?
I've also made some more felt birdhouses which I am very pleased with.
felt birdhouses
This week I am joining in with Wendy and Handmade Monday, so why not go on a blog hop and see what everyone else is up to?

Friday, 1 March 2013

Bathrooms, Blog and Birdhouses

This is my list for my non-teaching days this week! I haven't blogged for a while (two weeks!) but life has been busy with everyday things. So

Bathrooms - cleaned!
Blog - in progress and
Birdhouses ...

WiP
I love watching the birds at the bird feeder when I'm in the kitchen, and yesterday as I was washing up I wondered if we'd have any nests this year. We usually have starlings in the gap under the roof by Pickle-Lily's bedroom and I have got Mr P-L to put up some birdhouses as well. Thinking about all of this got my mind whirring and I started drawing as I was waiting for the children to come out of school, and after a few prototypes, here are the first felt birdhouses! I've put ribbon loops on as I thought they'd look pretty as a hanging twig decoration with Easter on the way, and I might make a few with lavender in as well. I'll see where the inspiration takes me.
Have a good week-end x

Sunday, 3 February 2013

the tale of the beastie boys

Beastie boys pencil toppers
Once upon a time, last Friday, Mrs P-L decided to do a post about ants, what a strange lady!As she did the school run she began to think. Now everyone knows that when Mrs P-L decides to think, she'll have an IDEA!
"Run, run," Mr P-L shouted "This is a dangerous thing!"
It usually means that Mr P-L will have to help. Luckily for Mr P-L all he had to do was agree with the strange lady and go to John Lewis on his way home from work.
Mrs P-L thought about all the little boys who have to go to craft fairs with their mums, and might like a little something for themselves.
 "How about an ant pencil topper?" said Mrs P-L.
First she got some felt and cut out circles, big ones and small and arranged them several times. When she was happy she sewed them in place, and it made her smile.
The ant then met some friends - spider and caterpillar and they decided they wanted to join the story as well. So they decided to go on a blog hop and say hello to all the new friends and old at Handmade Monday.
What happens next?
It's up to you!

Friday, 25 January 2013

Handmade Love


Mug Hugs
 An early Festive Friday for Valentine's Day, and to give you time to make. A felt mug hug.
I actually made two - one for Valentines and then Pickle-Lily said 'How about a Mothering Sunday?' one?
Mug Hugs
These are very simple to make.
My mugs came from Sainsburys - they are special offer at the moment, less than 50p each! I chose them as they had straight sides, rather than curved. To start with, make a paper pattern, by measuring from the base to just below the top part of the handle. I made my hug a bit short so I didn't get a mouthful of felt as I drank. Cut out the rectangle from a piece of paper - it will be too long and overwrap. Then wrap that rectangle around your mug, marking on the paper where the short edge 'joins' to make a complete cylinder. Or, measure the circumference of your mug and mark that onto your rectangle. Add on a tab section at the top of the rectangle. I hoping the picture will explain!
Make a paper pattern
Next, cut out two pieces of felt using this pattern, and embellish one. For the letters I used some wooden letters I already have as template. In the olden days, I used to draw round paper letters, cut them out, mount them and then re-cut to uses as labels for displays at school. Now you can just print them off! A good font to use is vag rounded for this style. I then stitched them into place.
Stitch the two felt pieces together to make a sandwich.
Finally, wrap the hug around the mug and mark where the button will go to hold it in place. Cut a buttonhole through the felt and stitch the edge to neaten, being felt don't worry about fraying . You can put the buttonhole in the tab or the main part, depending on which fits best with your design.
These could be made for any occasion - Father's Day, an apple for the teacher or just put a name on.
And of course you can fill the mug with chocolate hearts, marshmallows, teabags, homemade shortbread ....
Enjoy x

Monday, 22 October 2012

Little Robin Red Vest

One of our favourite Christmas stories is a lovely picture book by Jan Fearnley called Little Robin Red Vest, and a few years ago I made a story sack about it and collected a few robins!

This inspired me to create a little robin decoration and pin badge for Pickle-Lily to make to give to her friends and sell at the Christmas fairs she comes to with me.

Cut two brown felt circles - whatever size you like, and a red felt circle. We used sparkly red felt on ours. Cut the red circle in half and sew it onto a brown circle across the diameter.

Then sew a yellow felt diamond shape on for a beak.
Add two eyes. This one used 4mm black beads - these are shiny but fiddly. P used two black brads - very easy.
We pinned a loop of ribbon and cut two sail like shapes from the brown felt for wings.
Finally the robin was sewn together with a little stuffing inside, the stitches holding the wings and ribbon in place. I used blanket stitch, P did simple running stitch.
For badges we left out the ribbon and sewed a brooch pin to the other brown circle before the robin was sewn together.
Little Robin Red Vests
I am very happy to be able link in with Wendy and Handmade Monday this week and am looking forward to visiting all the other blogs on there. It will be like visiting old friends.

Thursday, 18 October 2012

Christmas Owls

I have managed to fit in a little sewing and knitting over the past few weeks, so I thought I would share...
Christmas owls
These are my favourites - so far - this year, Christmas owl decorations. I have loads more ideas in my head but just not enough hours in the day! A quick post today, just to let you know I'm in the land of the living! Perhaps that's the answer, little and often, to blogging at the moment?
Jo x


Monday, 28 May 2012

Red, White and Blue Baby Bunting

Just in time for next week-end and all the patriotic festivities to follow, a very quick and easy baby bunting project.


I used pale blue ric-rac and red, white and blue felt. The flag are triangles 7.5cm at the base with the point 7.5cm long. For about 2m of bunting I cut 27 triangles (9 red, 9 white and 9 blue) out of a rectangle of felt, or just use up your scraps.
You can use pinking shears for a zig-zag edge
 Then cut 27 squares, mine are 3cm.
Sew the button through the square to create your mini bunting flags in any pattern combination your like. My buttons came from Sew Sweet and Emma also sells the felt.
Sew the triangles onto the ric-rac, I tried spacing them apart, but they just didn't look right, so I put my triangles next to each other. You could use ribbon instead of ric-rac, but the ric-rac hooks over itself making it very easy to tie on and stay put!
I'm going to visit Wendy at Handmade Harbour and all the other wonderful bloggers for this week's Handmade Monday
Enjoy the sunshine!
Jo x